Basic Firebase Setup
13 Jul 2020In this article, we’ll set up our Flutter App with basic Firebase Configuration.
Create Firebase Account
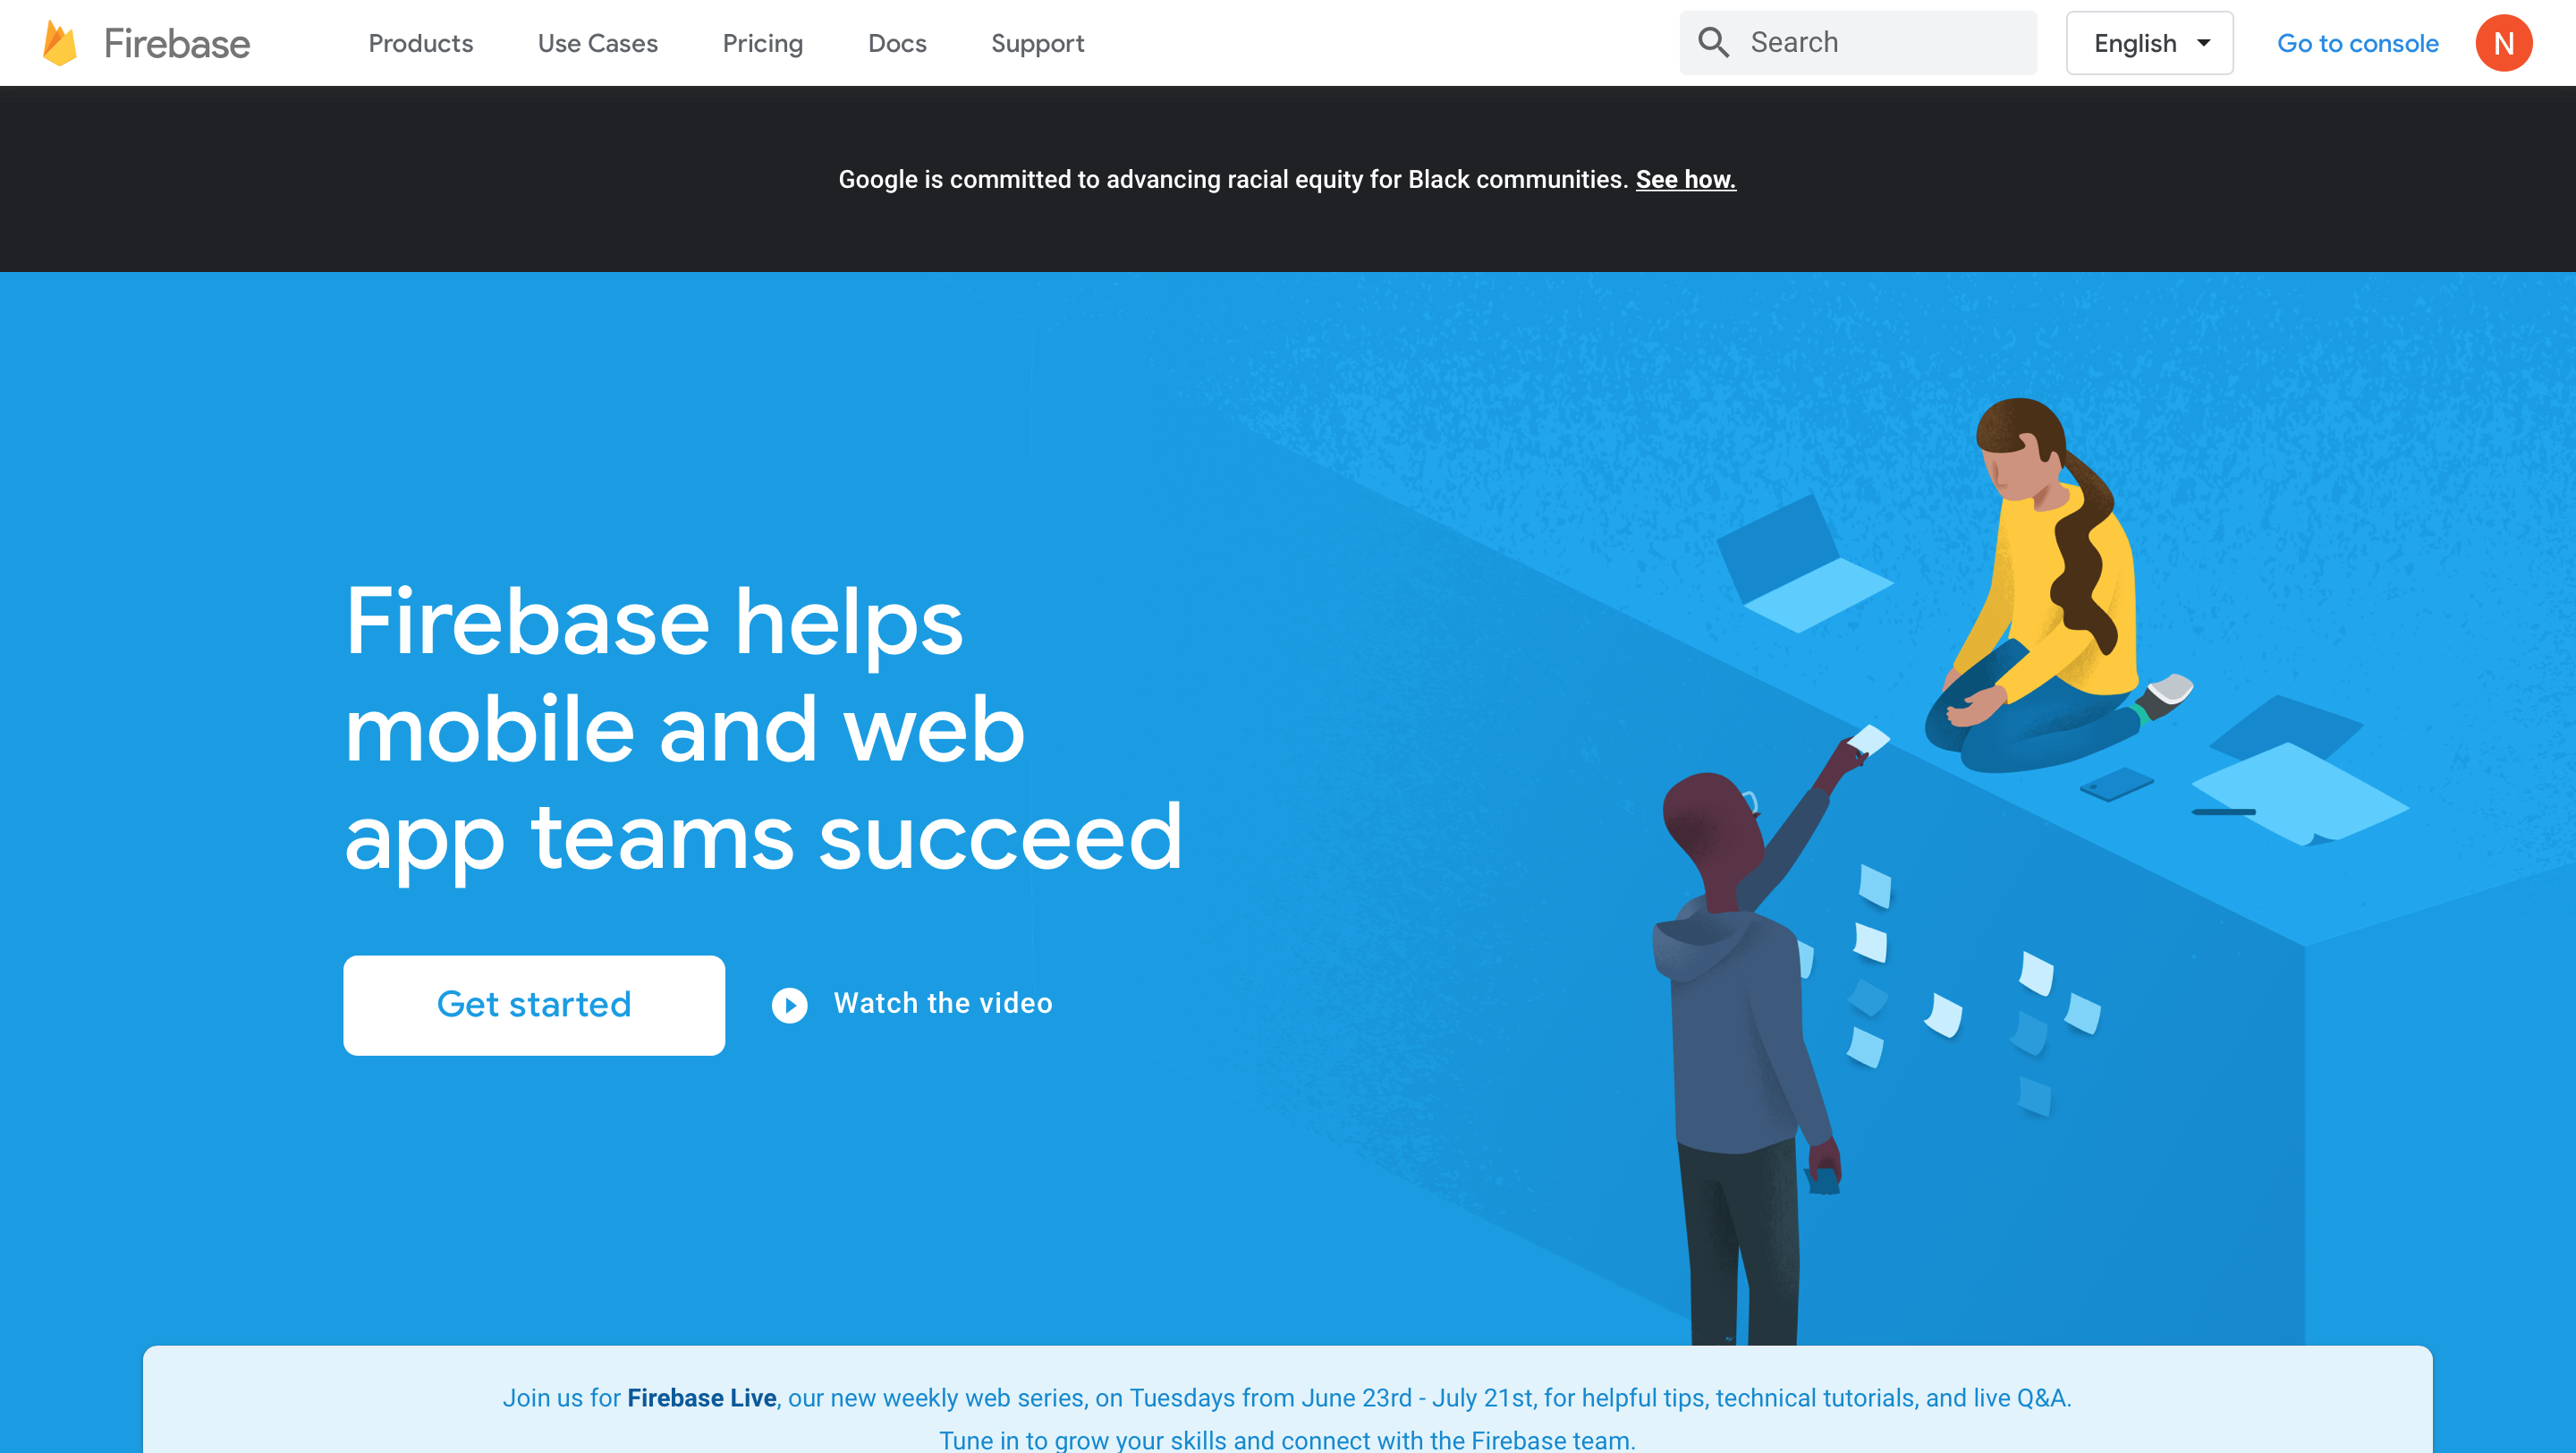
1- Browse https://firebase.google.com and click ‘Go To Console’ after you’ve signed in.
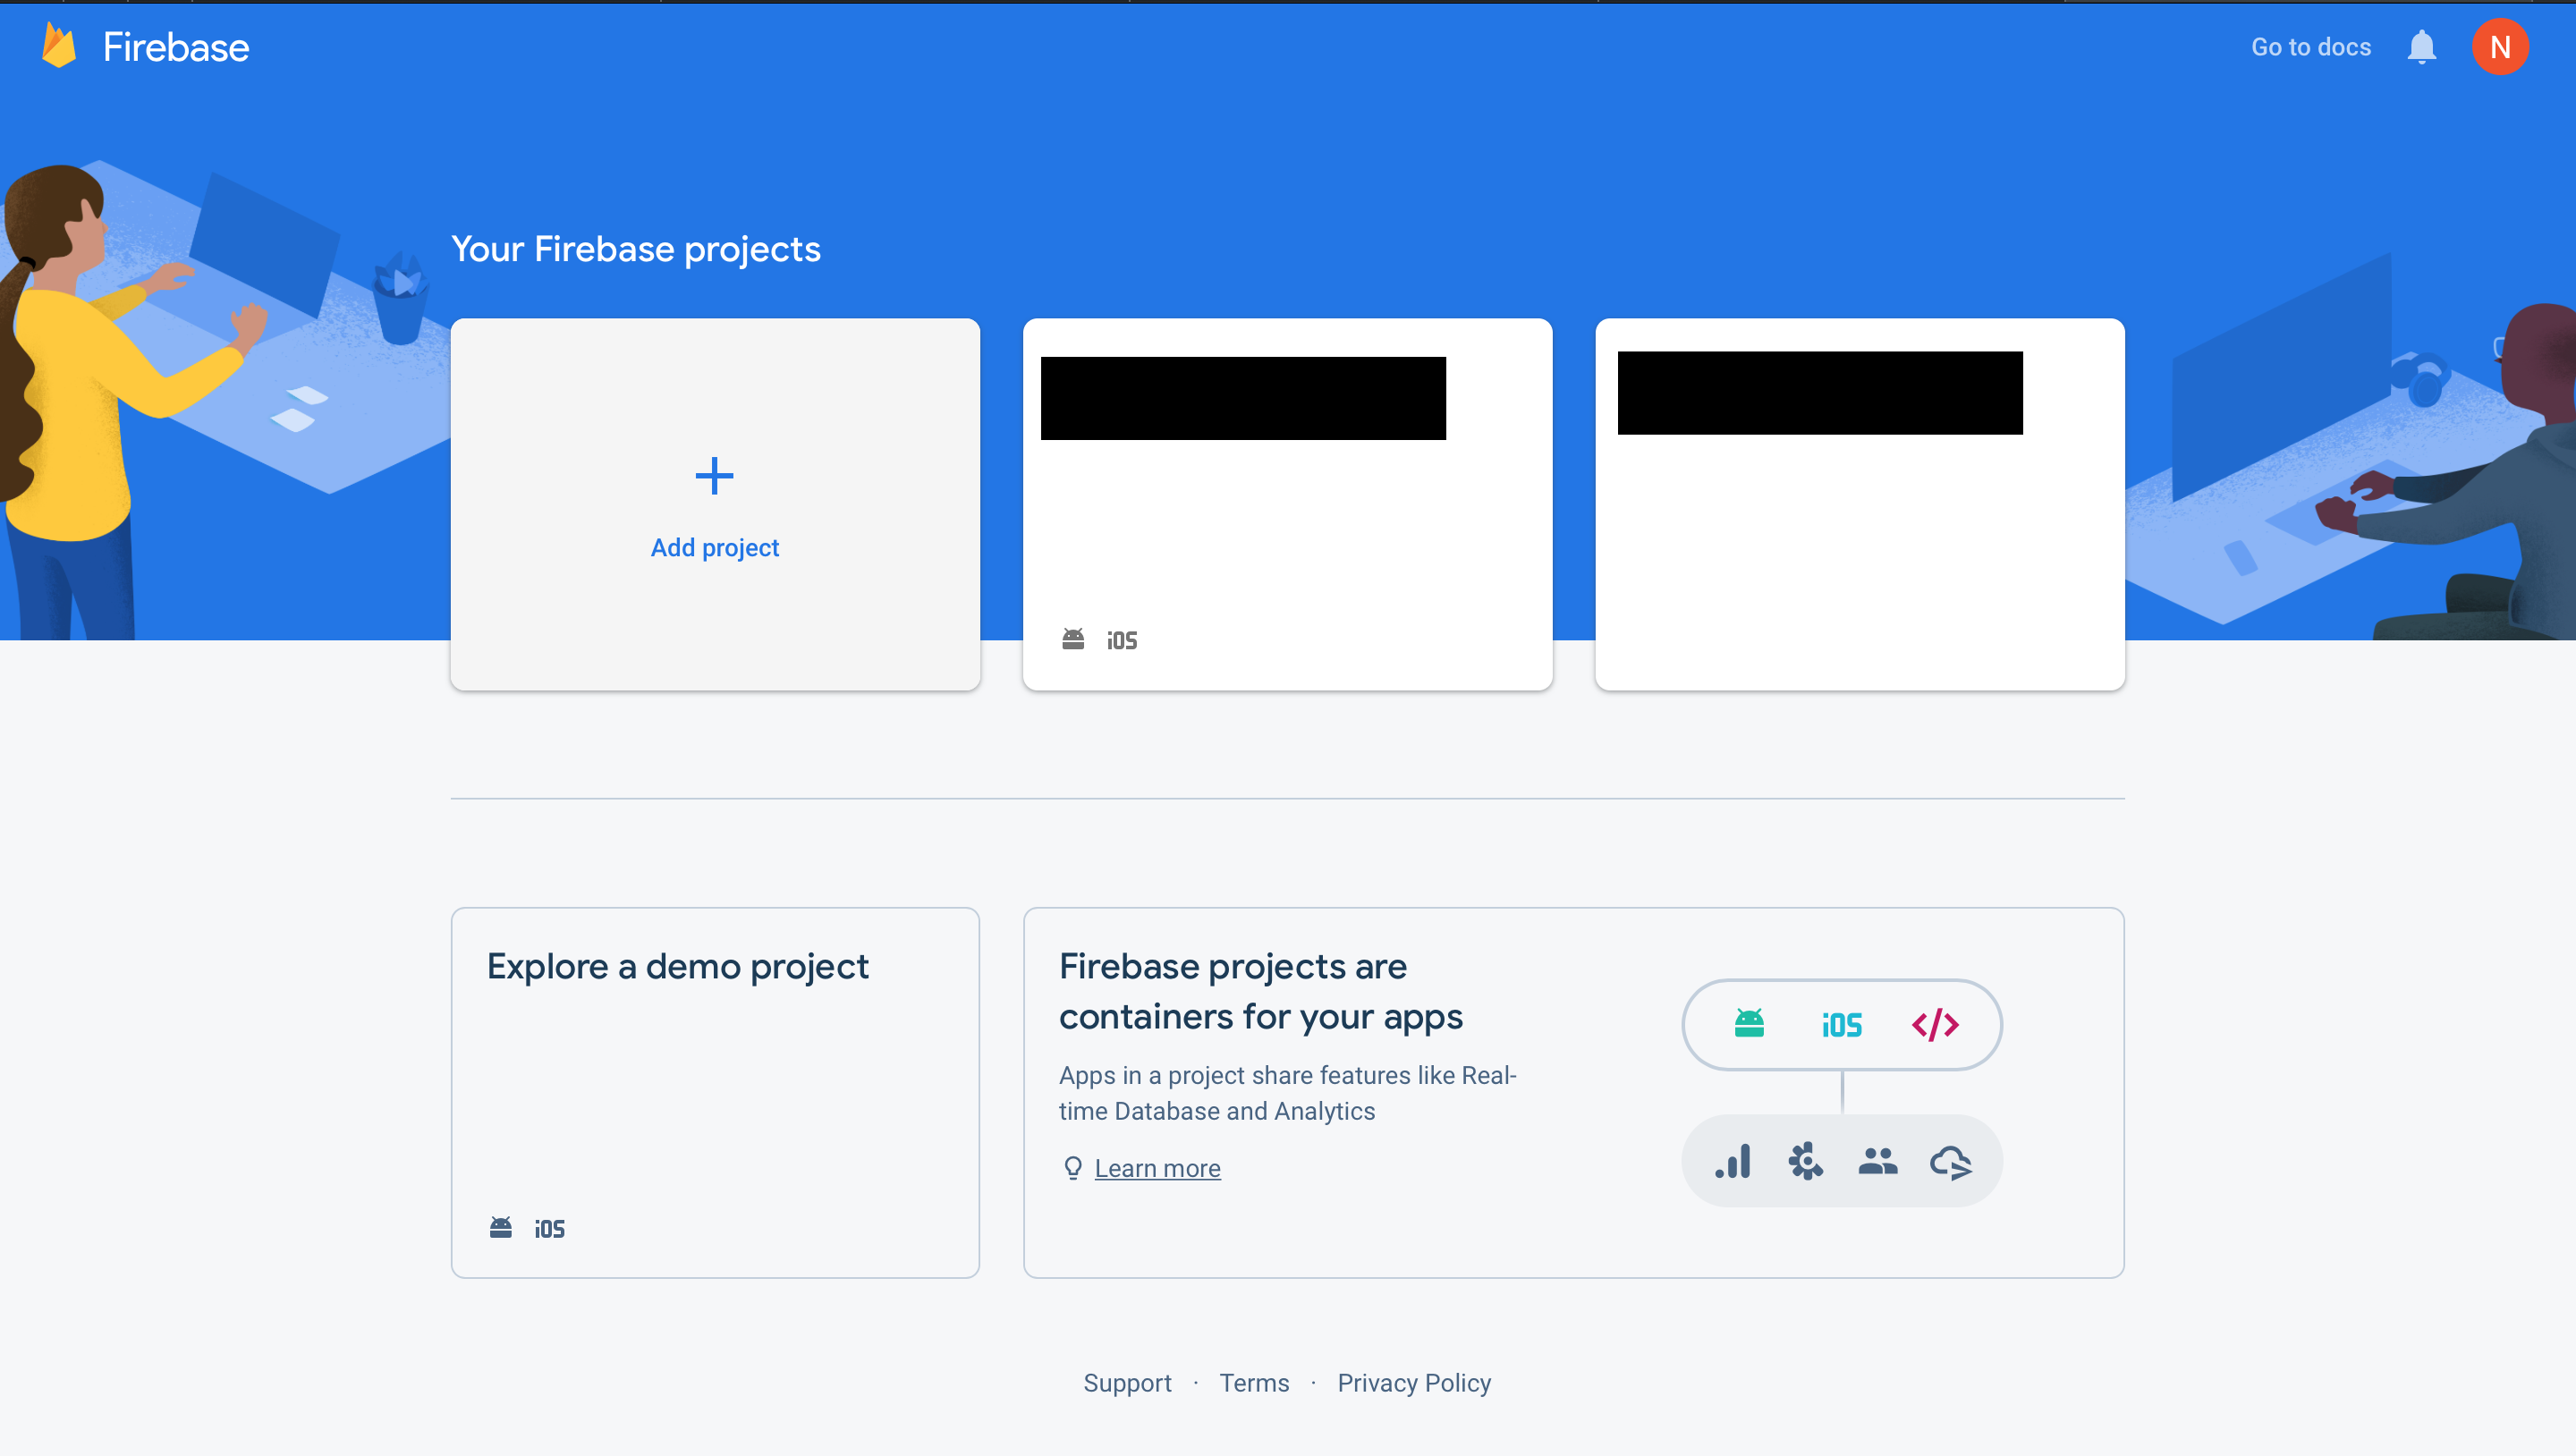
2- Click Add Project.
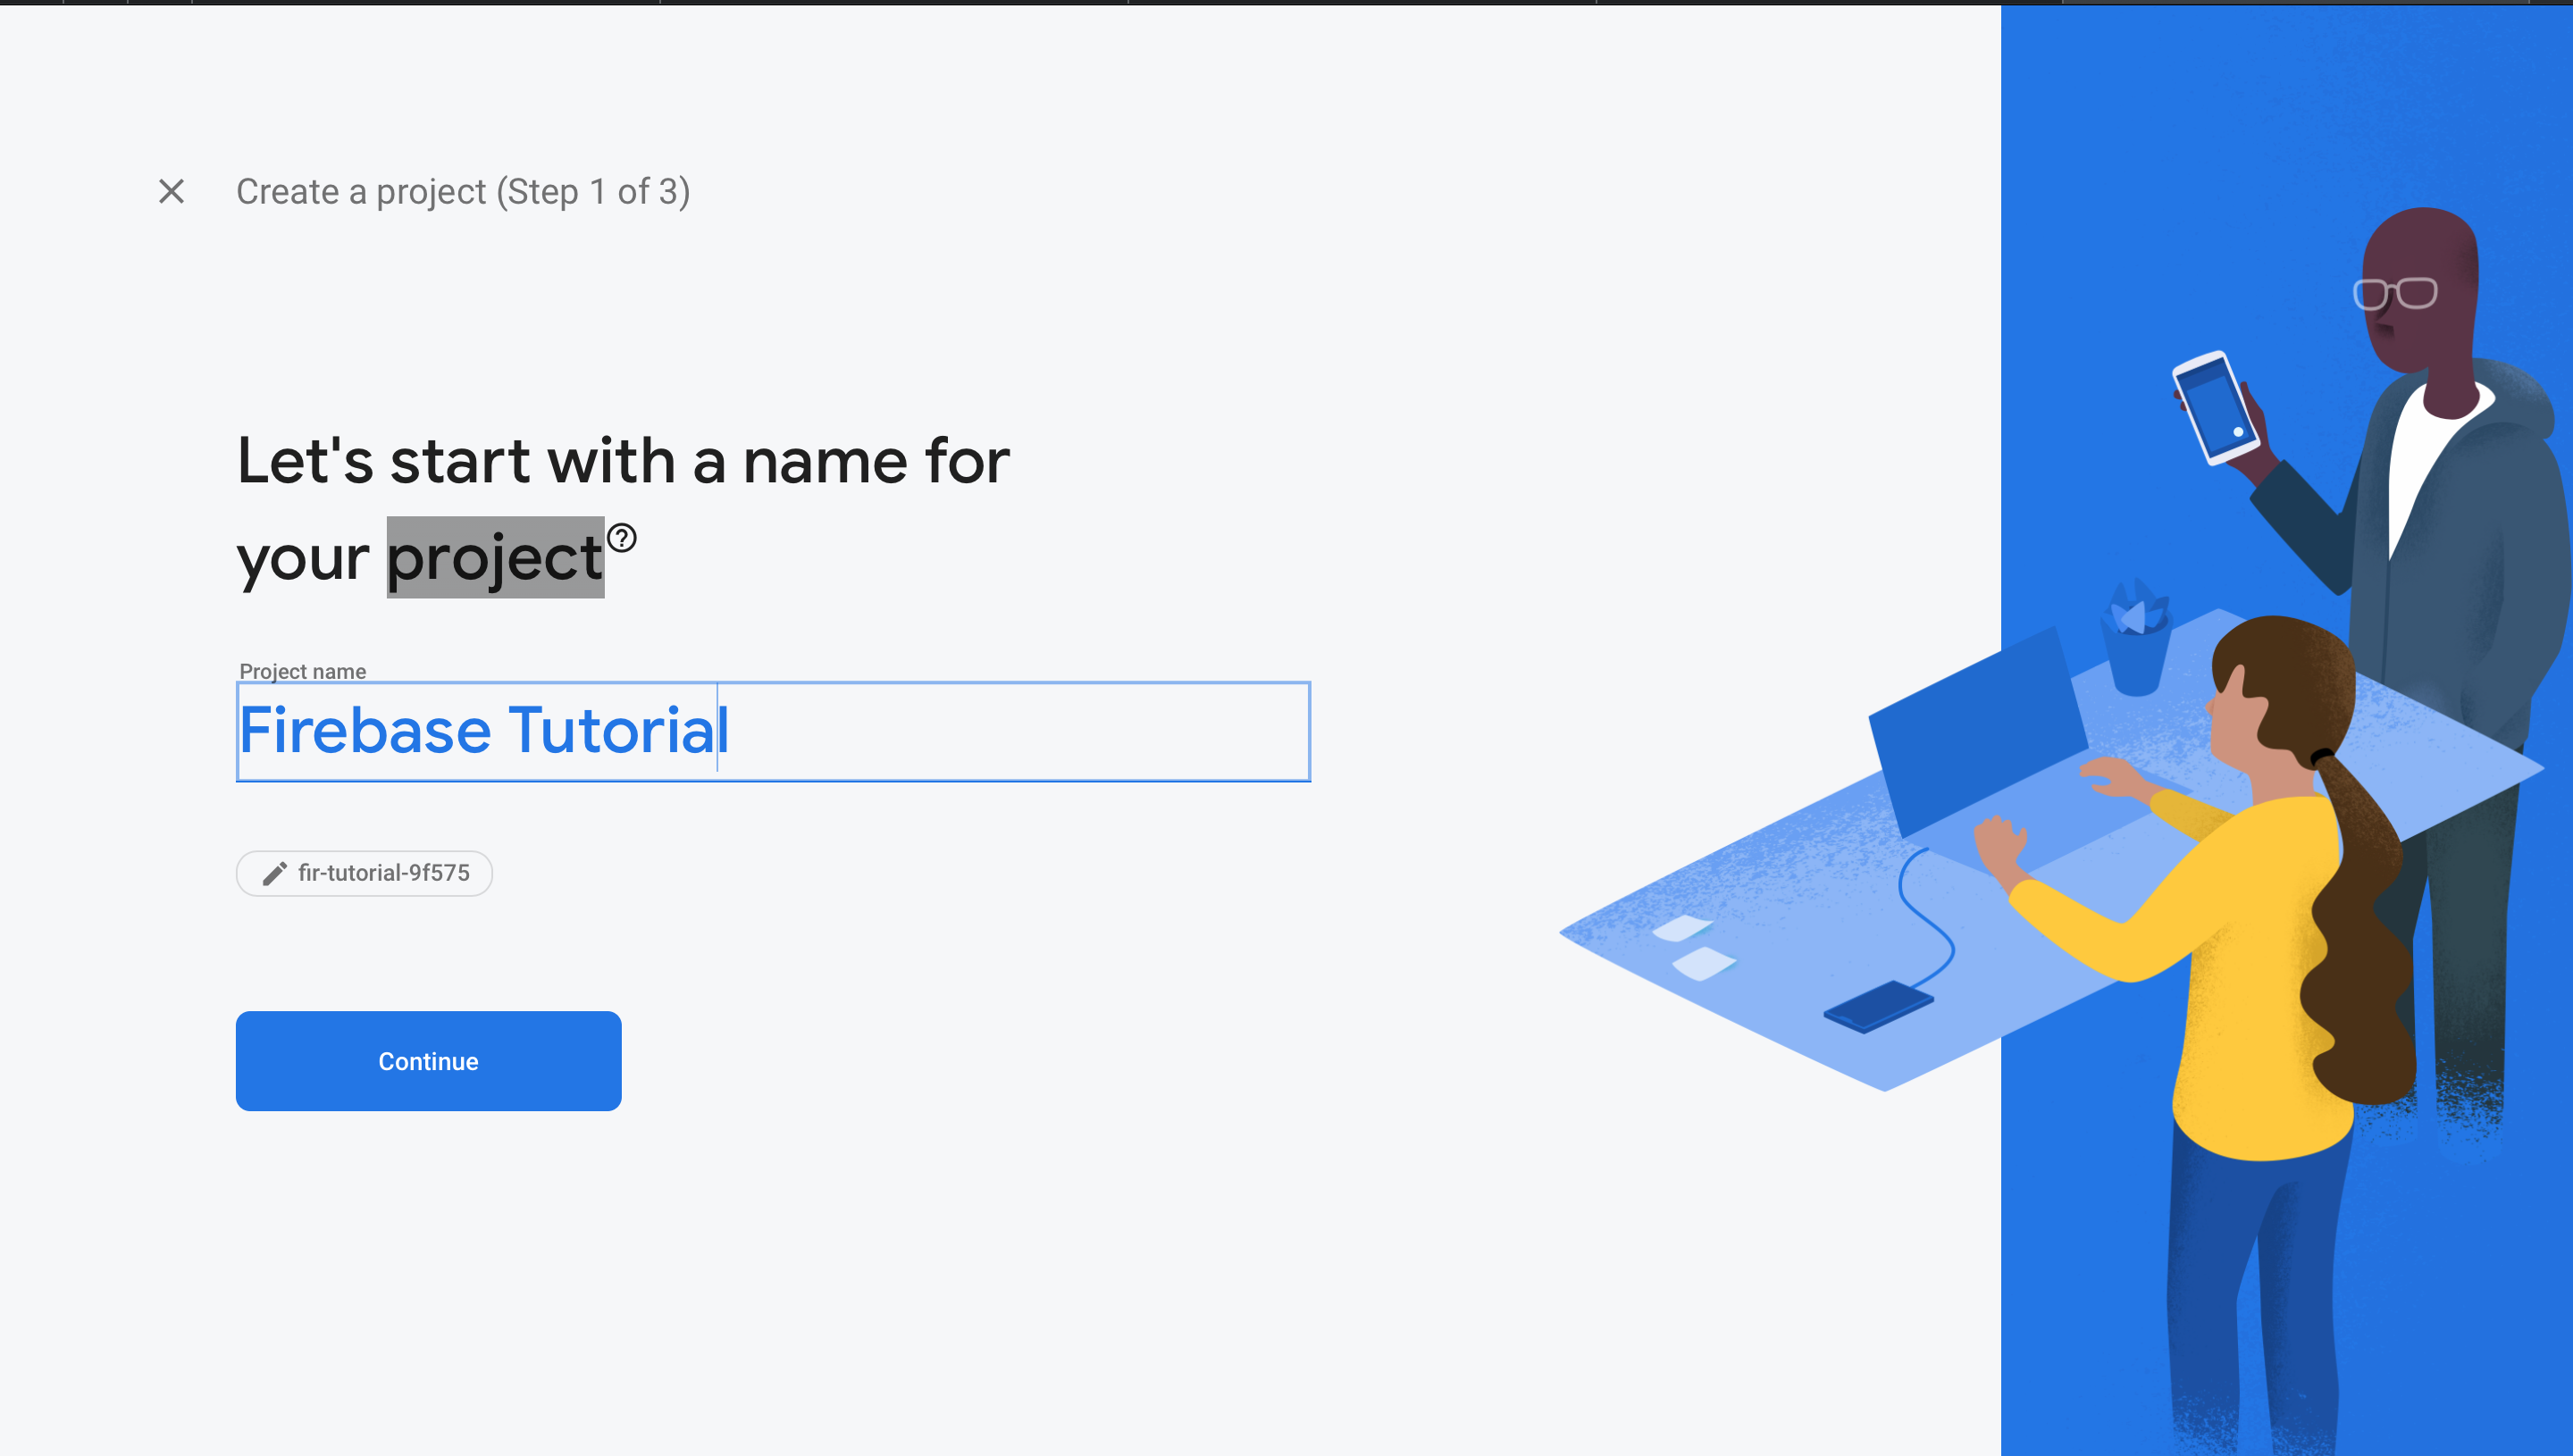
3- Name your Project and click next.
4- Enable Google analytics in the next step if you want and then continue.
5- Create or select an Analytics account and create your project.
Android Firebase Setup
1- In your Project Overview screen add an Android App.
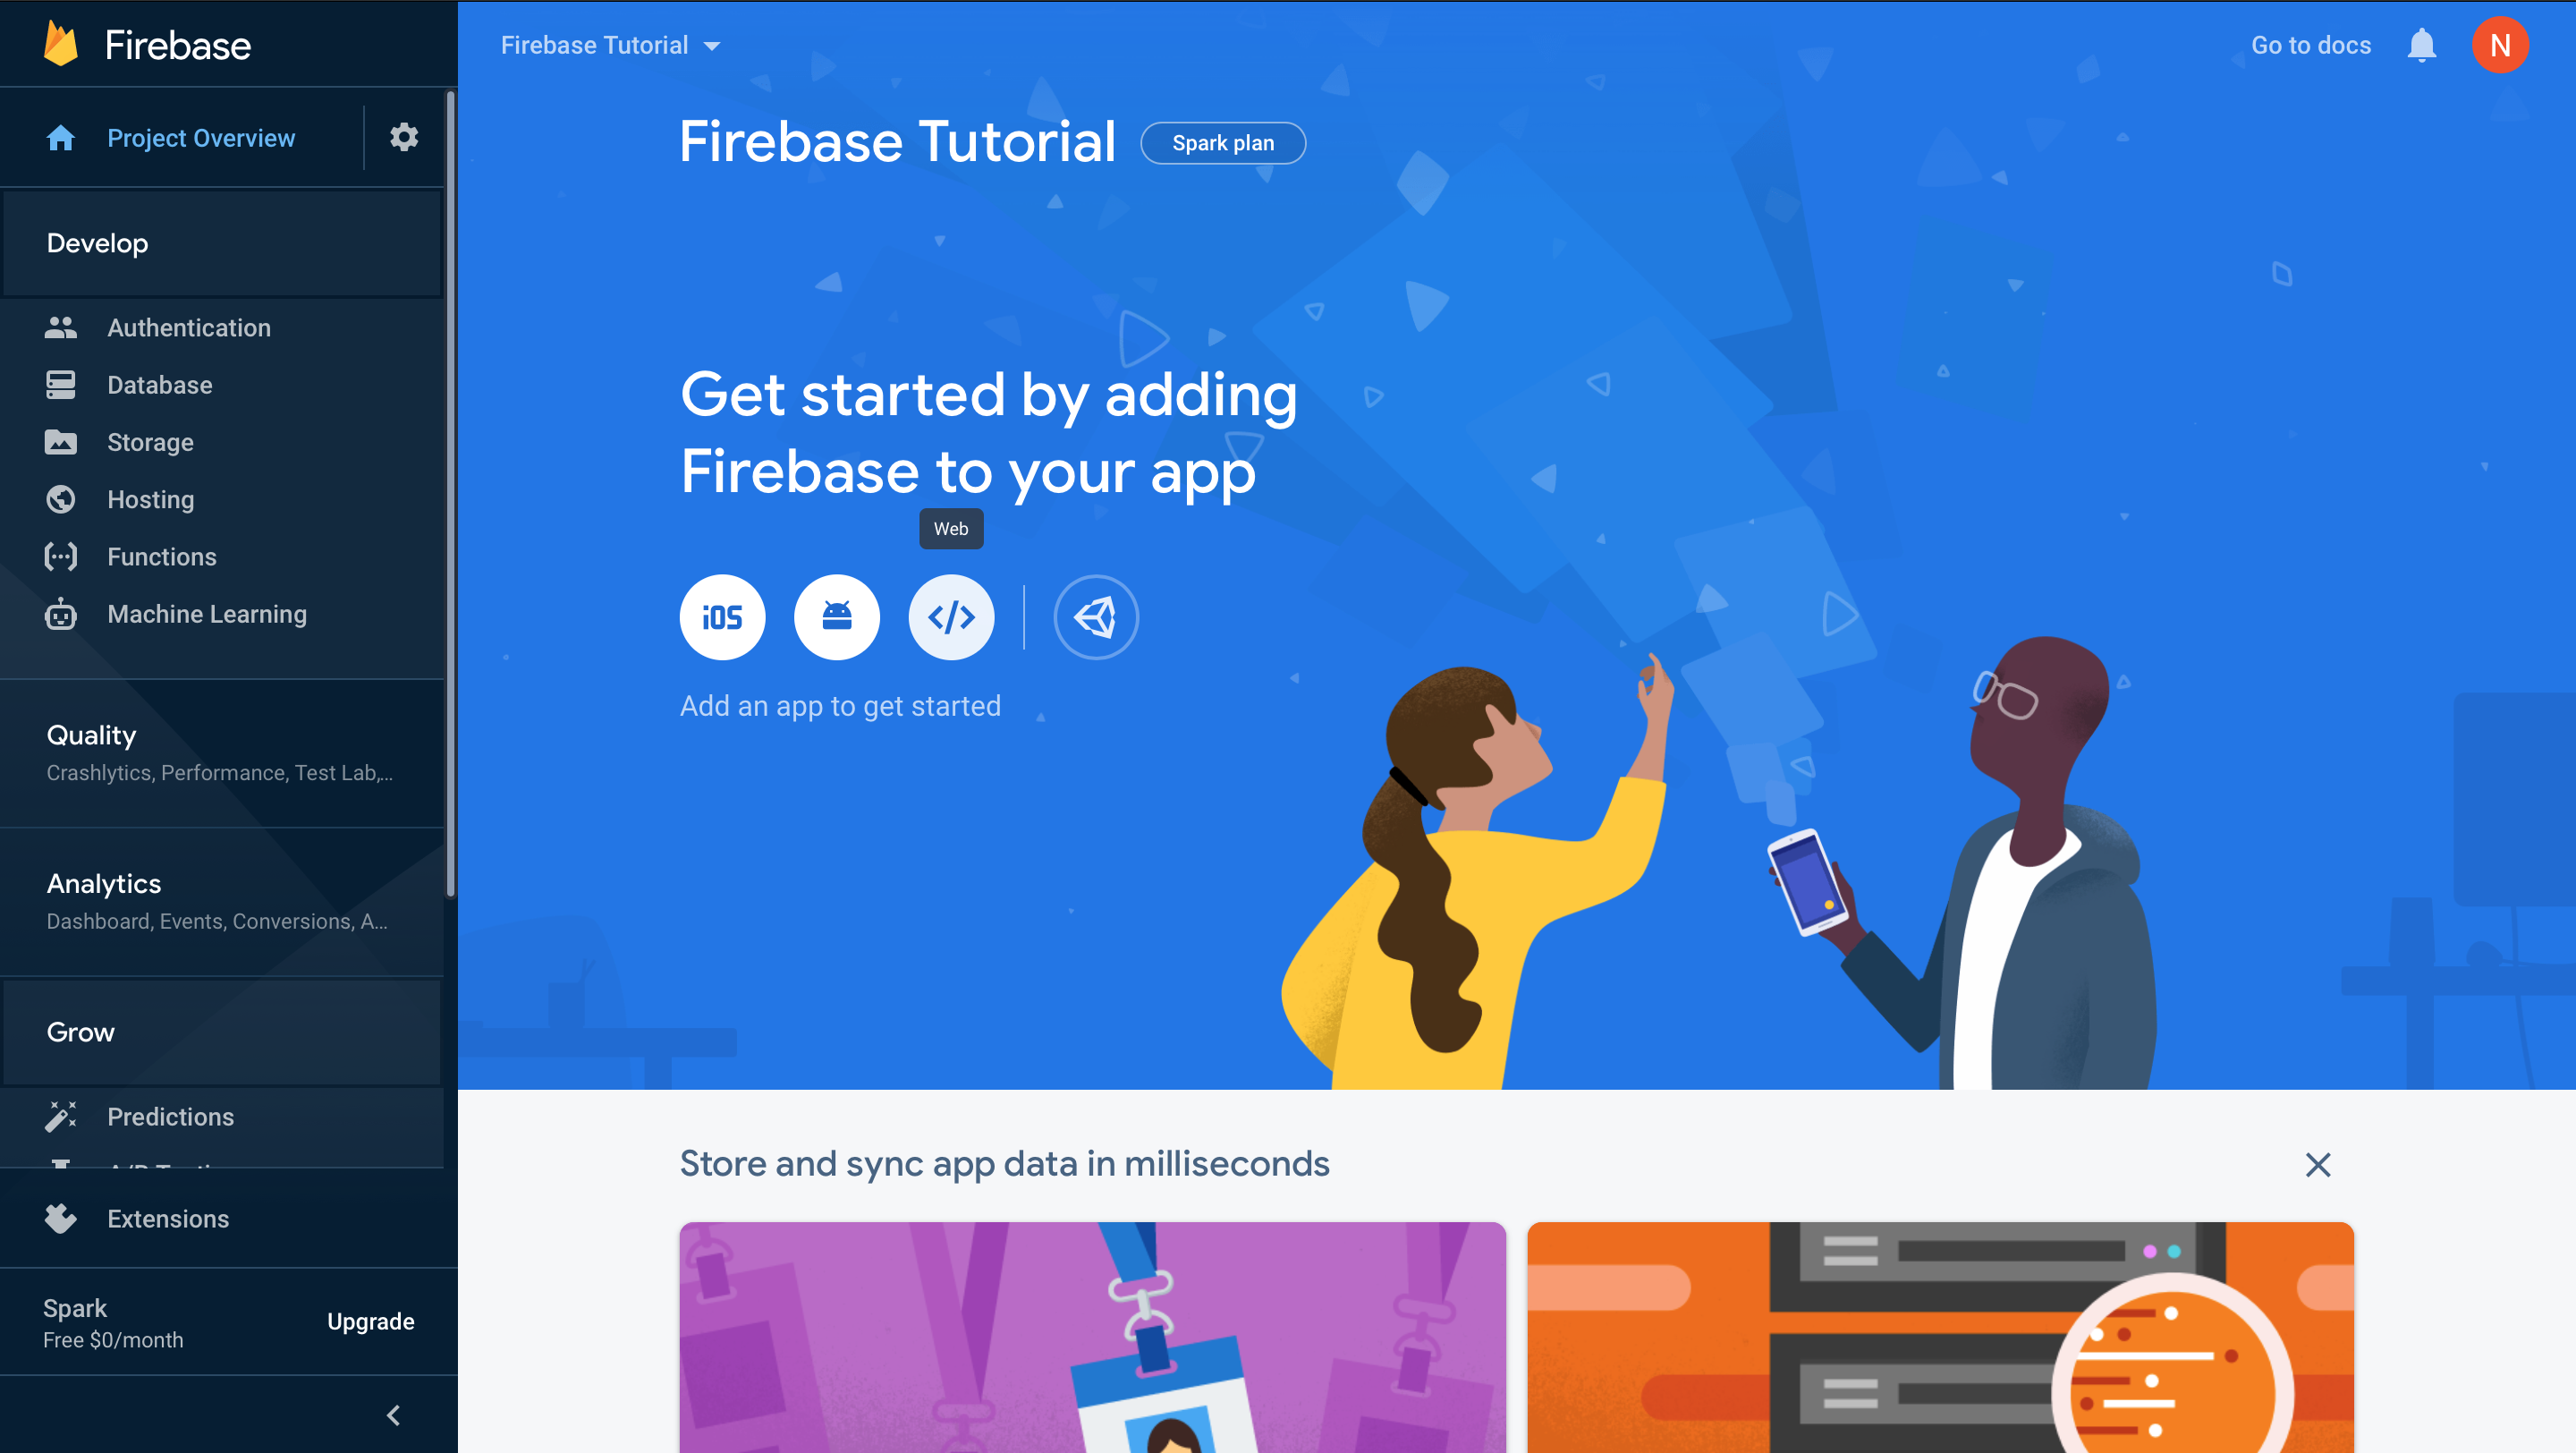
2- Register your App’s package name e.g com.solobits.firebase_app, Enter your App’s name, Signing Certificate is optional but if you need to add it follow this URL https://developers.google.com/android/guides/client-auth, Once done click Register App.
3- Download the google-services.json file and paste it in your project/android/app directory. When done, click next.
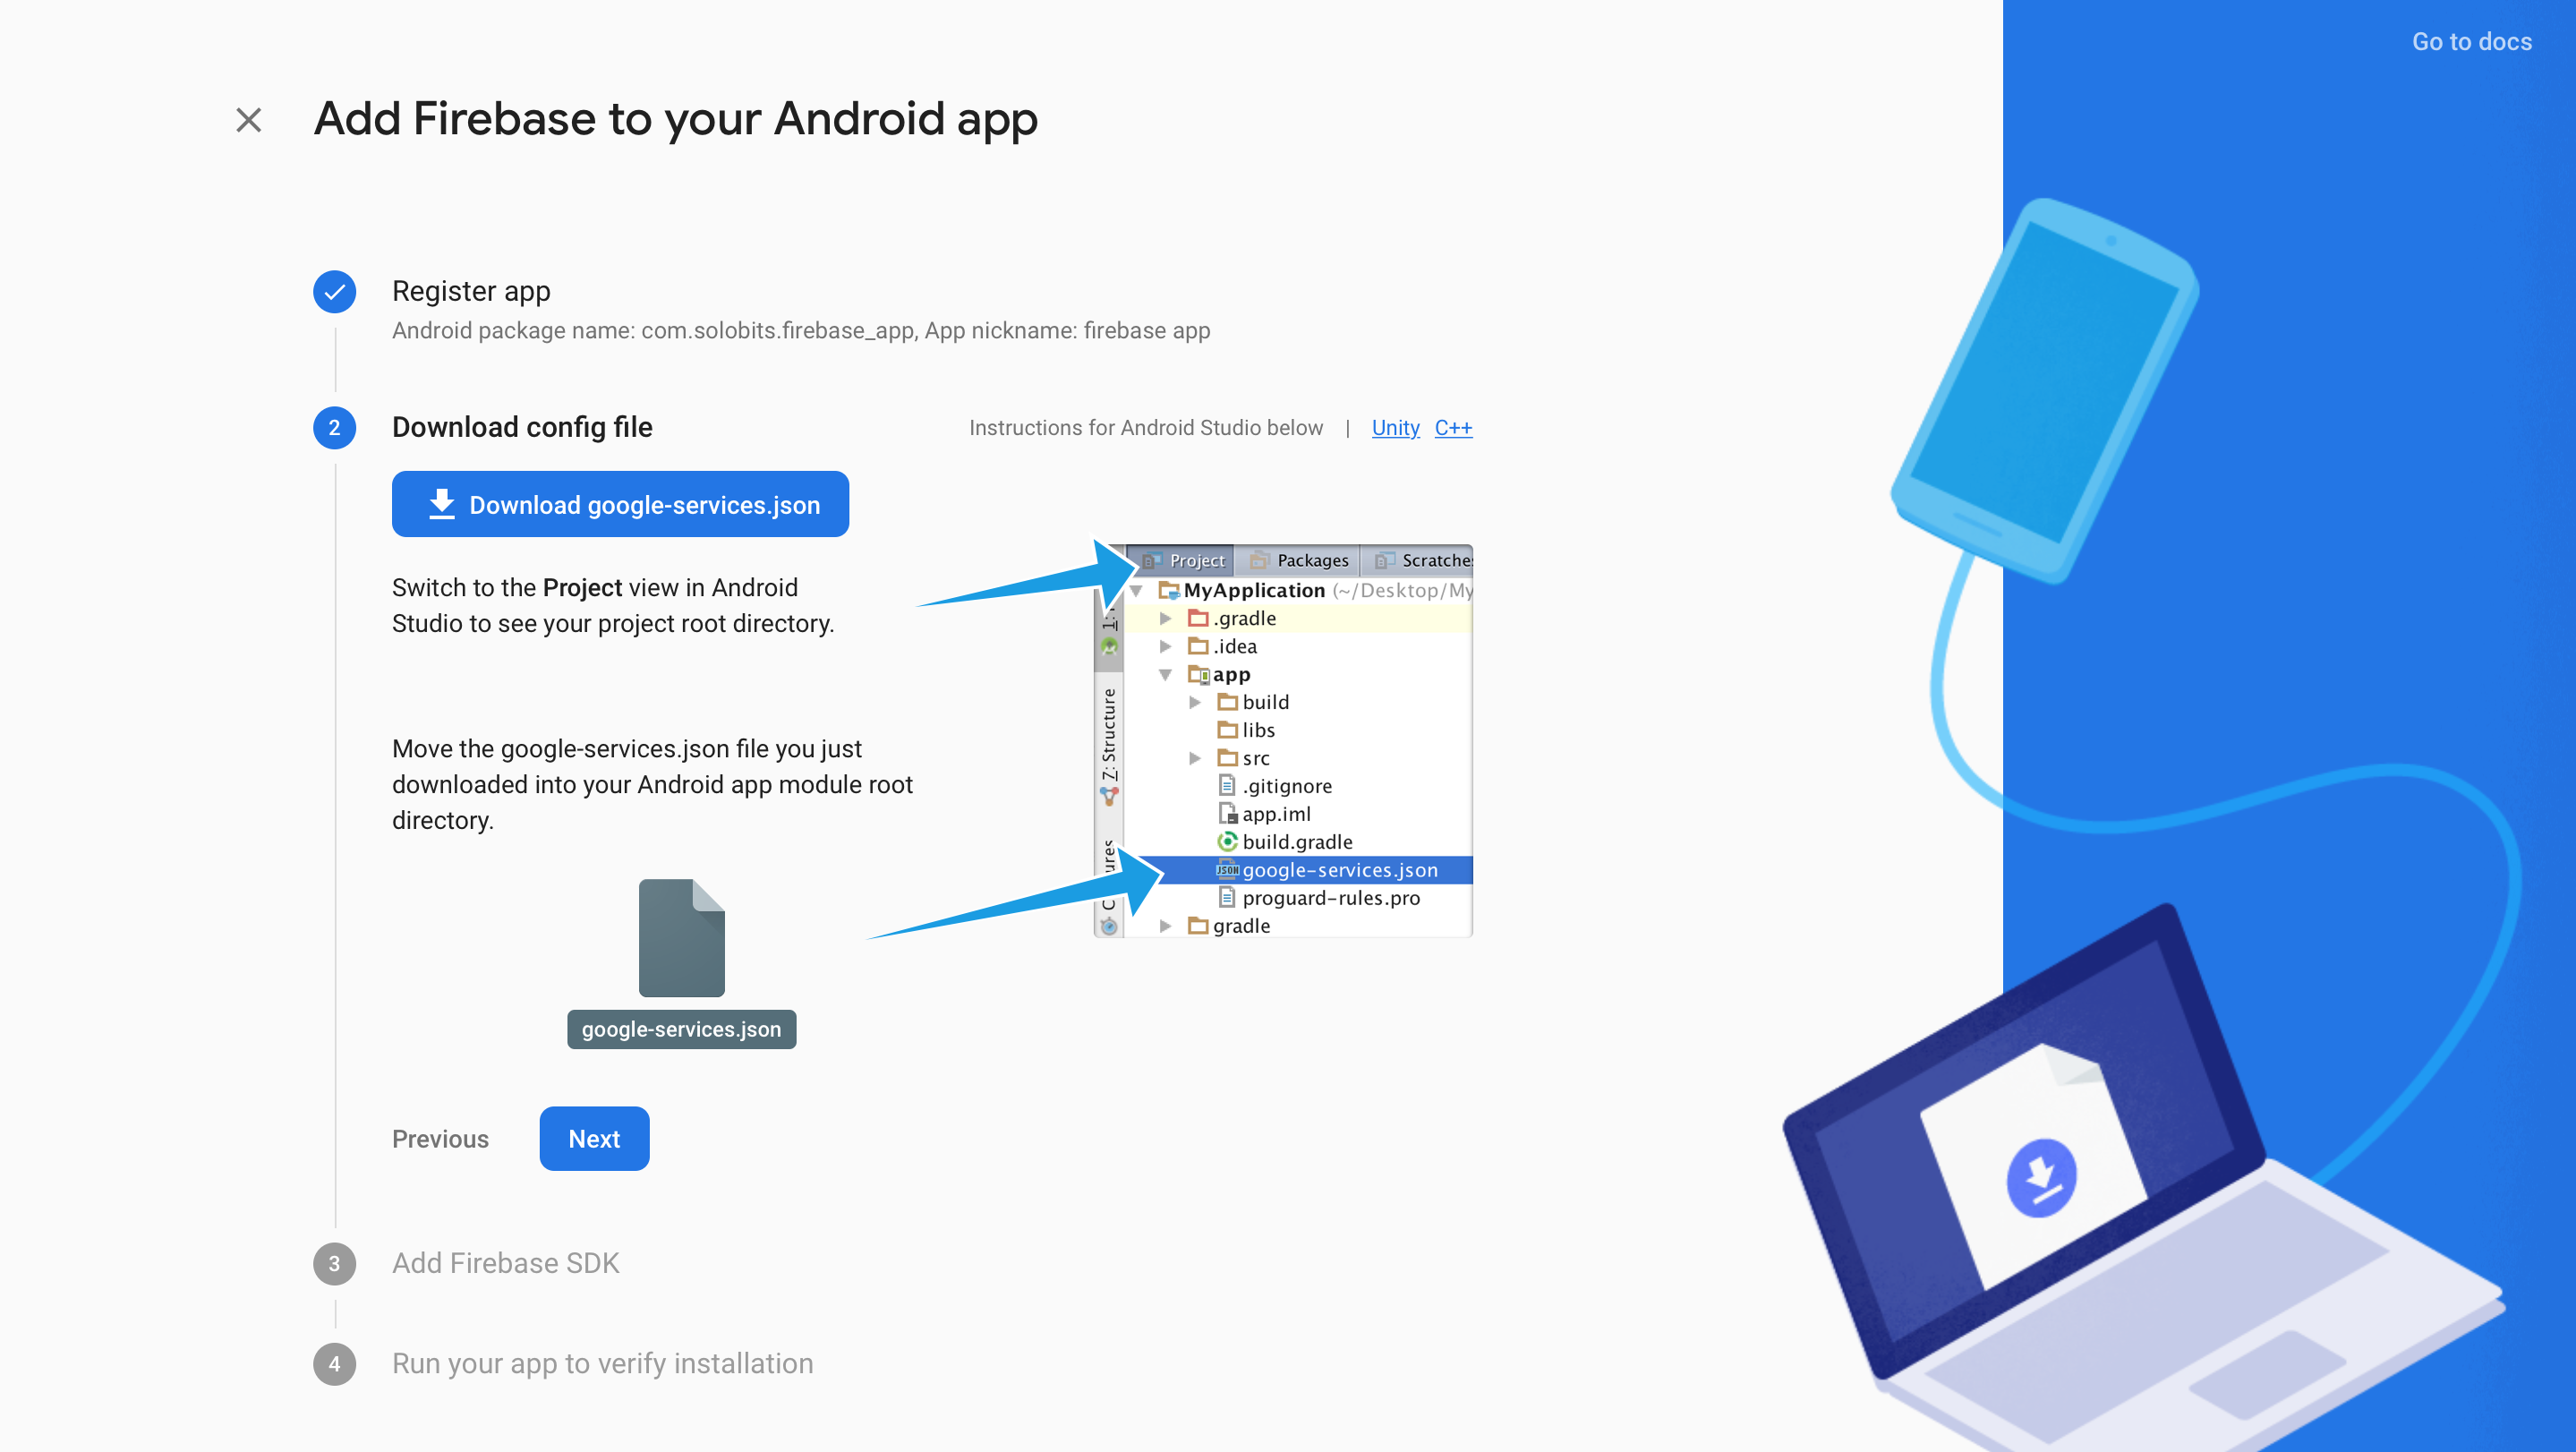
4- Paste the code in you app-level gradle and project-level gradle as defined in the step.
5- Done!! You can skip the last step.
For in-depth article visit: https://firebase.google.com/docs/flutter/setup?platform=android
iOS Firebase Setup
For iOS setup, you need to have XCode on your Mac.
1- In your Project Overview screen add an iOS App.
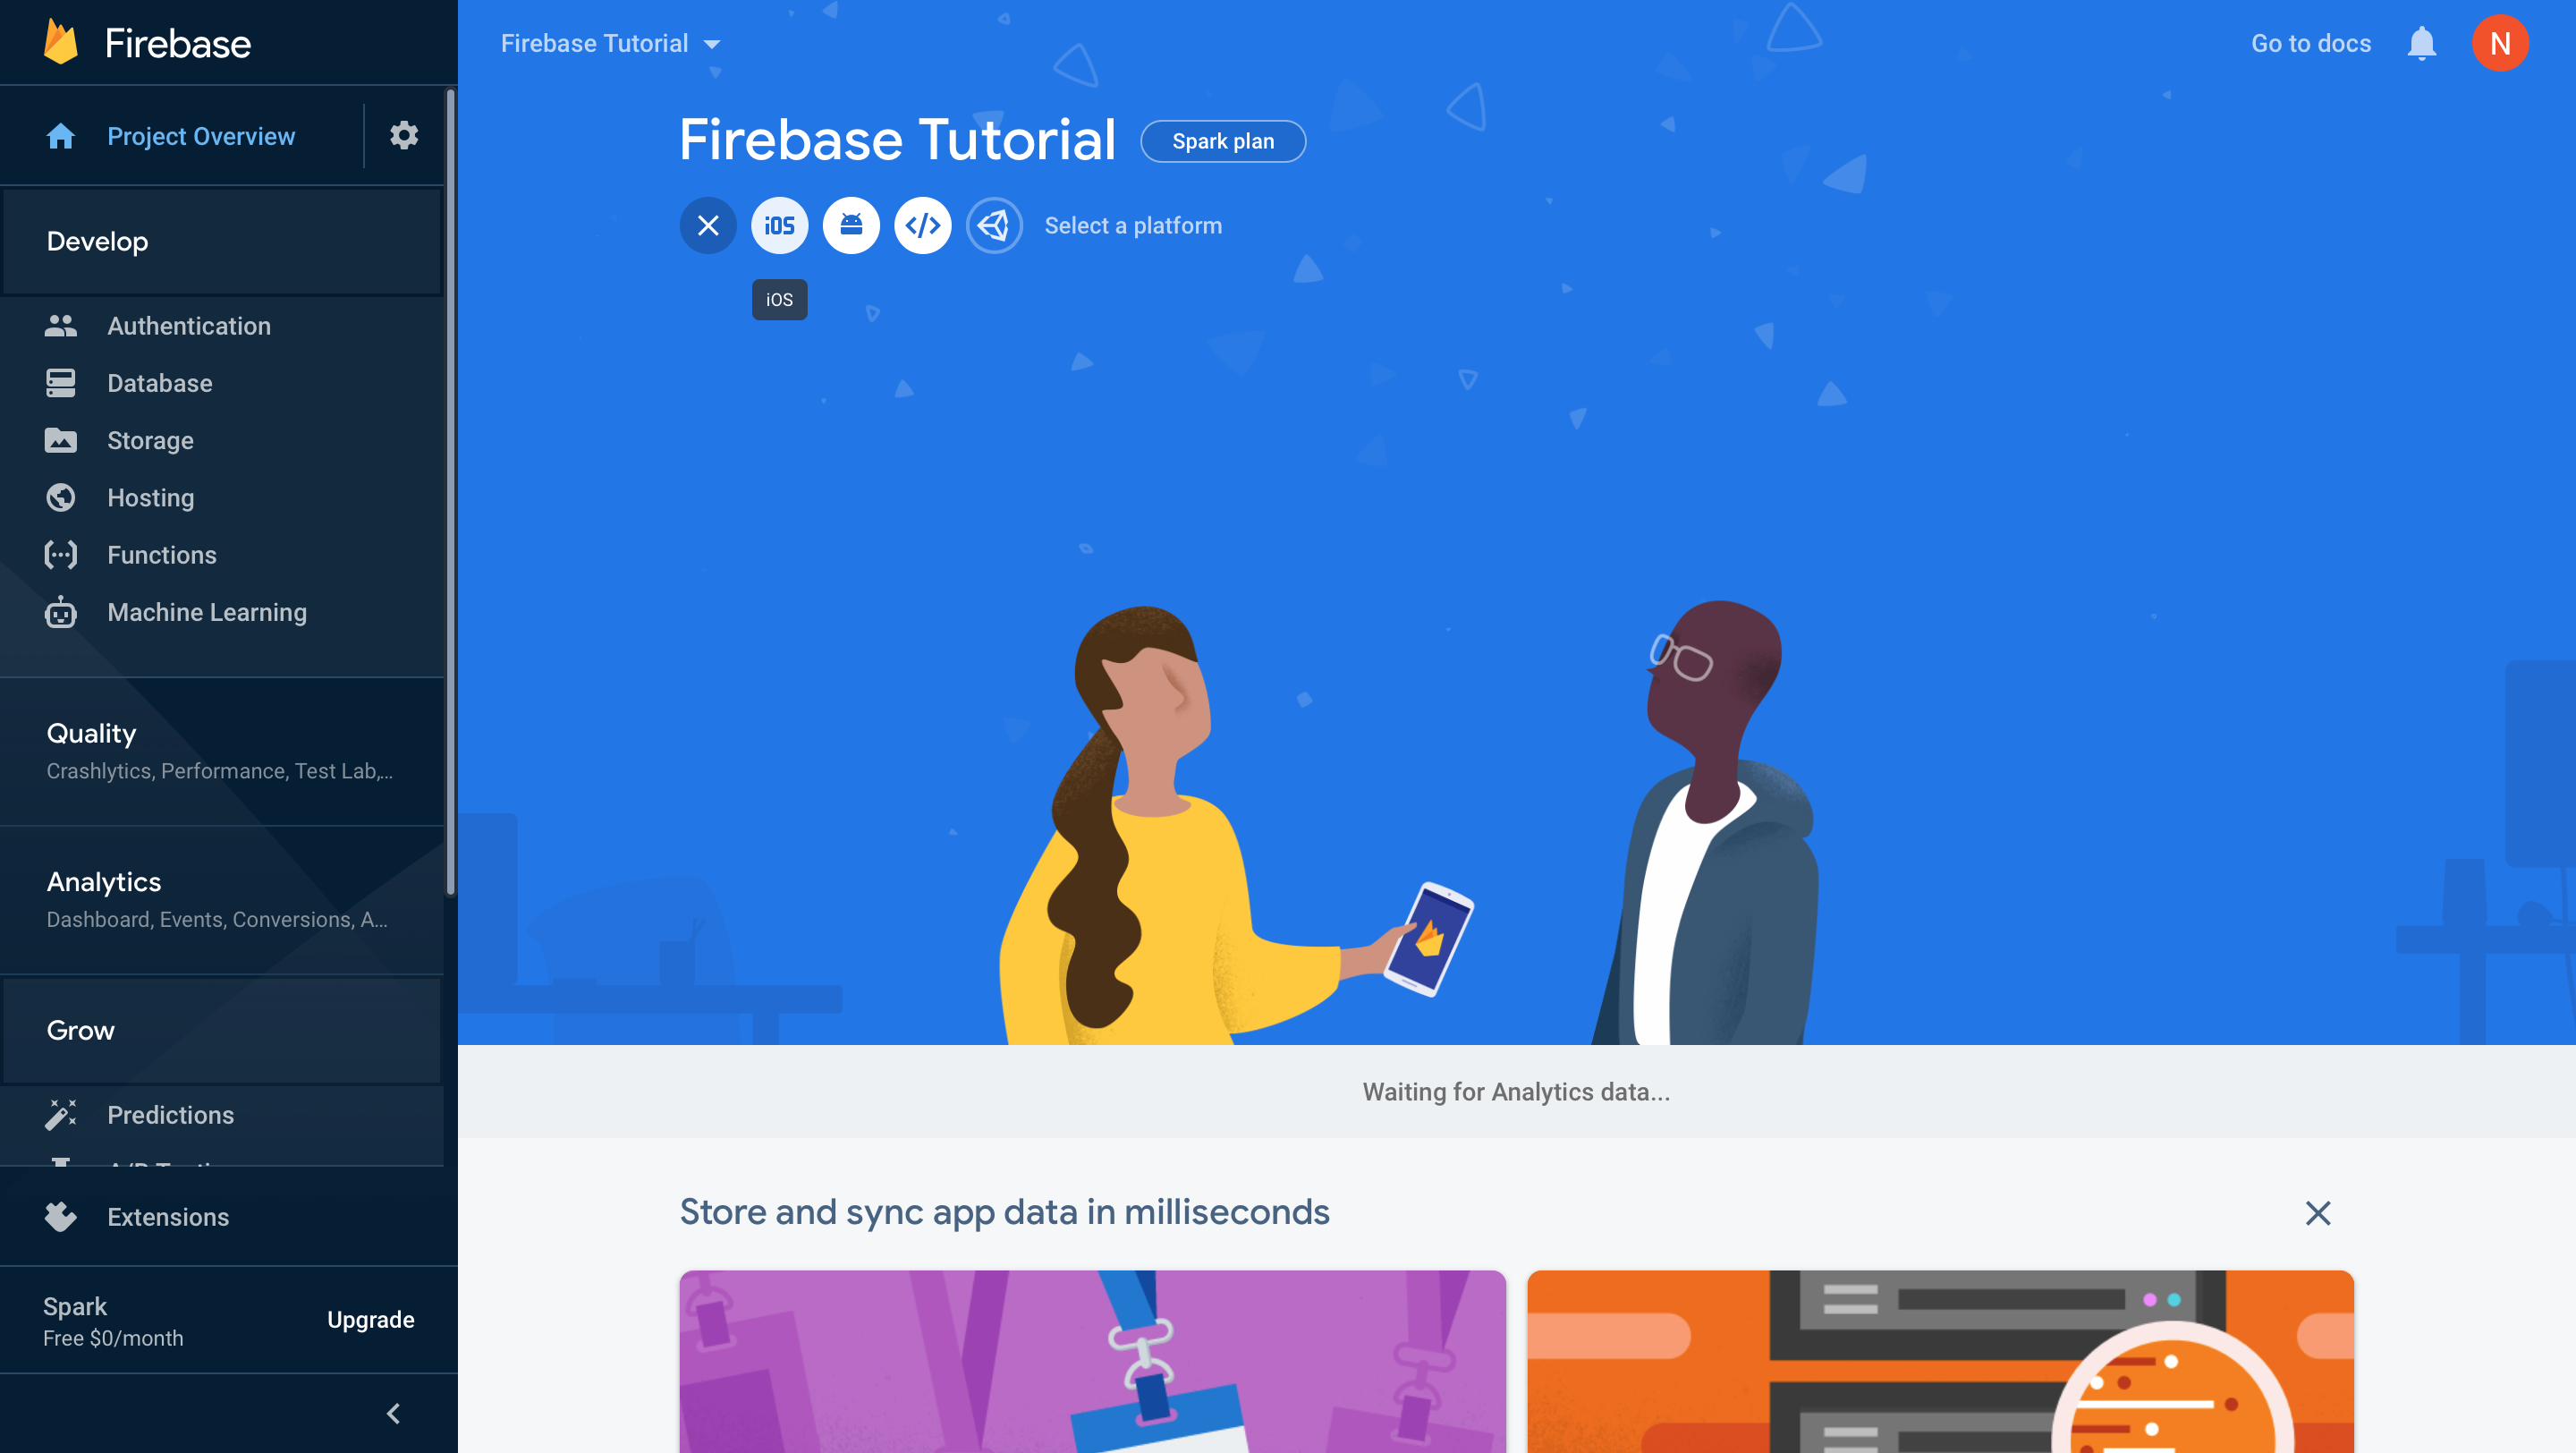
2- Register your App’s package name e.g com.solobits.firebaseapp, Enter your App’s name, App Store ID is optional for now, Once done click Register App.
3- Download the GoogleService-Info.plist file. Now using XCode and paste it in your Runner/Runner directory.
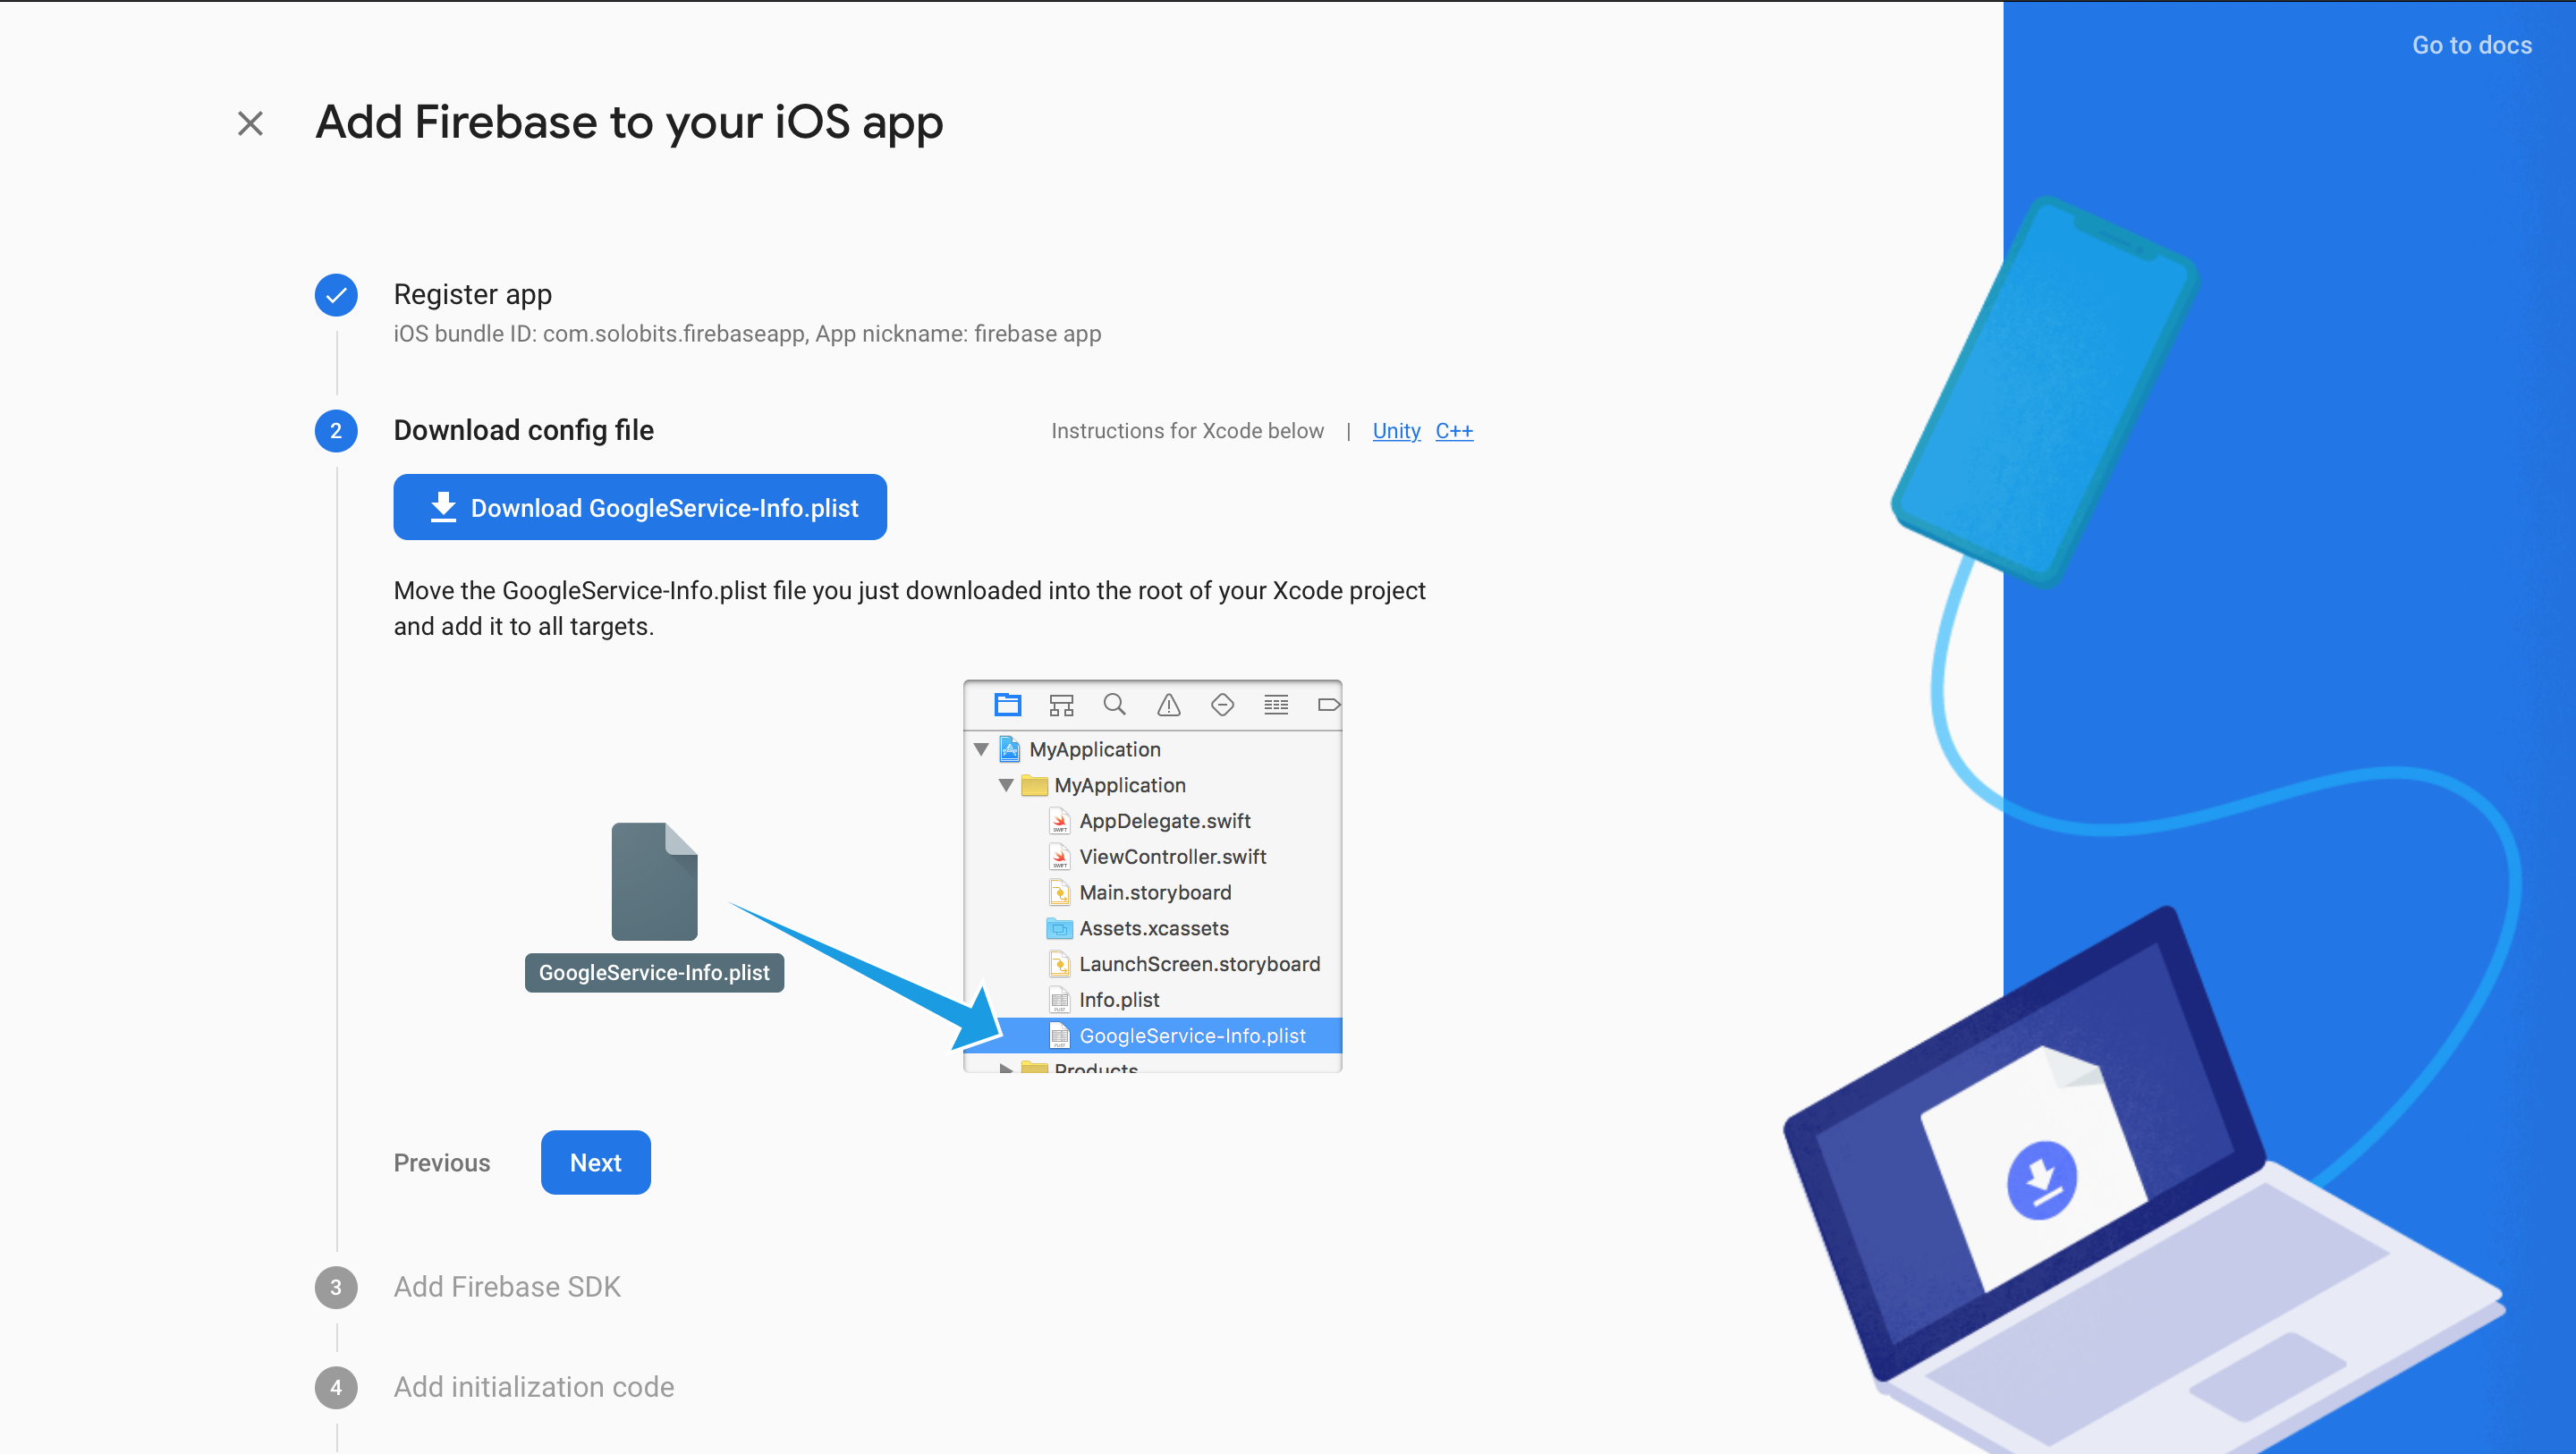
4- Done!! You can skip the last step.
For in-depth article visit: https://firebase.google.com/docs/flutter/setup?platform=ios